|
This was very fun to film and edit! I really felt like I was doing an art tutorial from other artist YouTubers I've seen. One of my friends let me use his original music to use as background sound. I thought recording the VoiceOver would be challenging so I first typed down a quick script based of the actual steps to follow. Below is the transcript of this video so it is easier to pause, read, and understand:
Hello everyone today we’re gonna learn how to draw an easy still life. A still life is essentially an artful arrangement of inanimate natural or human-made objects. Still life drawings and paintings have been used throughout history as exercises of observation by artists across the globe. Last year, the Instagram account Still Here, Still Life gained a lot of popularity as it prompted its followers to create their own interpretations of original colorful still life photos. I also had to do make a lot of still life drawings for my beginning drawing class. Here are some of my favorites in black and white, done with charcoal. Ready to make your own? Let’s get started! You will need: Any everyday simple objects you can find around your house. Include some fruits! Pencils, colors, an eraser and any other drawing tools. Sketchbook or paper to draw on. And a source of light. My preference is natural light so I will be using my window’s. Step 1! Start by arranging your objects in a way that is aesthetically pleasing. Avoid having similar colors overlapping and also think about how you want the textures to create contrast. Once you have found the perfect composition, I recommend taking a photo in case anything gets moved! Step 2 Sketch the outline. Find the best view of your still life and now you can begin sketching it out. I like using a light color, in this case, pink, to draw the main shapes first. Do soft lines. Detailing will come in later! If you hold your pencil from the middle, it will prevent from applying a too much pressure. Step 3 Add color! Color can be optional. You can choose to focus on the shading but when you begin learning how to draw, the closest your drawings resemble reality, the better! That way you first learn to see the details and pick what you want to focus on once you develop your own style. So really get in there and add as much of what you see onto your still life! I went over twice with the textures for them to be noticeable. Remember the best tip to make quality art is through continued practice and cultivating patience! Step 4 Draw and detail Now it’s time to draw the actual outline of our still life! I like my lines to be thin so I sharpened my set of Staedtler pencils I bought at the Art Supply Warehouse. I first used the H, or hard, pencils for the glass bottle since they are lighter in color but doing soft lines as well. My favorite pencils are the 2B and HB as they are softer and darker, and those are the ones I used to outline the rest of the drawing. Step 5 Finish and display your drawing! You can either frame your drawing or put it on the fridge. That’s what I did with mine! Now it’s your turn to create a still life of your own. Thank you for watching! Let me know if you draw a still life! <3
0 Comments
I wanted to do something simple and cute. I've been sitting/walking a lot of dogs this year and sometimes I wish all of them had a bigger space to run and play, since most of these dogs are inside small apartments. Anyway, here's a video for all the dogs that dream about playing in a large field of flowers. It was very relaxing to be painting little watercolor bodies and cut them after, small and large pieces. I used a tripod to take the pics but I may have moved it a lot hence why it looks so jumpy. If I could do it all over again, I would work on a better set up. 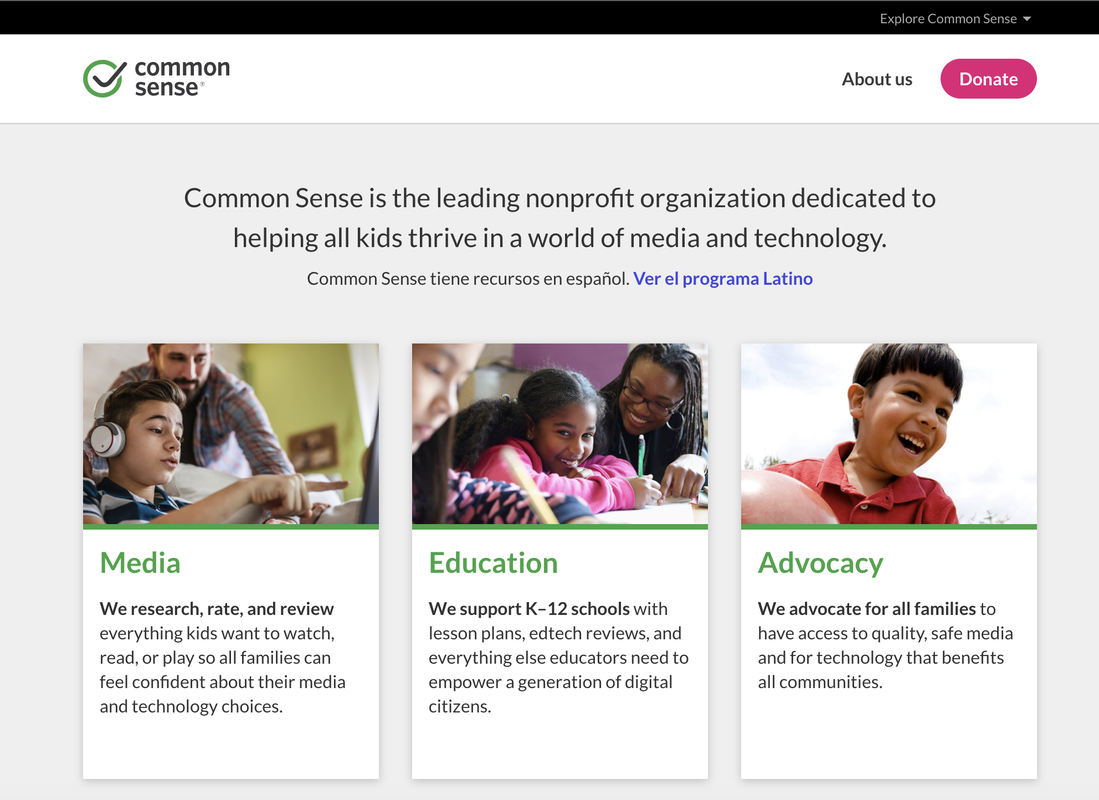 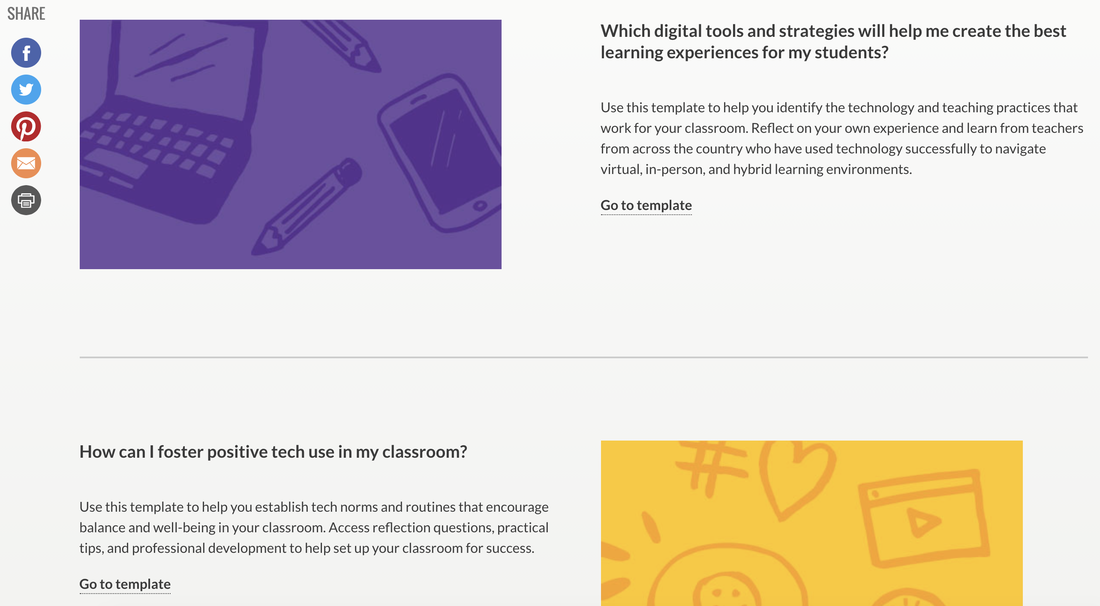 Common Sense Media is a non-profit organization dedicated to helping families and kids thrive in the digital world. It has three branches: The education side, which has resources for teachers such as online workshops and seminars, lesson plans, app recommendations, and much more to help educators who use technology in the classroom. The media side, where they rate and review different media from movies to video games. The advocacy side, which promotes and fights for laws that will support young learners by providing devices and internet for all students. Their website is really cool, and their For Educators page has lesson plans on technology that you can filter out by grade and subject! Also, they are inclusive by having resources in Spanish. Visit their website here: https://www.commonsense.org/ And their YouTube channel for videos: https://www.youtube.com/c/commonsensemedia
This was a fun assignment! I am glad I finally updated my Bitmoji character to reflect my current look. I took so much joy in looking at different classrooms of K-12 and university levels. It gave me some ideas, yet I tried finding a classroom that didn't have too much in it so I could add more of my own decor to it.
I want a classroom that has natural light, but I am unsure if a window will cause too much of a distraction, that is why I chose this one with more of a ceiling window that way there's natural light coming in. I also want color and ambiance lights installed so students can see their artwork under different lighting. I will have art posters in one area, some of my work, and also students' work neatly installed on the walls and ceiling. Plenty. of art supplies! If you click on the ones that are on the desk, there's links to local art stores where the supplies are priced fairly. Most of the images are linked to different resources, like the syllabus on my hand, or the motivational poster on the back. I really want to have a bookshelf with very visually-guided books on arts and crafts. I will let my students take these home for the weekend, that way they feel inspired to find new hobbies and create art outside of the classroom. Hey there! This is my YouTube podcast video with a little bit of information of what I do as a creative. It was fun to edit and I hope you enjoy it! The most challenging part of making this assignment was the time limit as I love to talk and I think I've done a variety of jobs and projects... It would have been entertaining to explain more!
I am glad we got to do this because it is a great way to introduce who we are, and I could totally use this in my future classroom especially if I am giving a course online. It makes it easy for students to go back and rewatch it on the classroom's homepage. Ask me anything on the comment section! Below is the script for the podcast. SCRIPT: Hello all! My name is Charlotte Medina and today I would like to welcome you to my humble artistic abode: my room! My room at home serves both as a bedroom and also as my studio space for when I am working on my personal artwork. I moved to this apartment at the end of last year, so there are times in which I am still figuring out where is the best spot at home to work. This right here, is where I keep all my art supplies. It’s usually a little messy, but you can see my collection of brushes and all the supplies I use for my mixed media paintings. Over here, I have what is called my “painter’s kit.” These are my tools, somewhat organized, that I bring with me when I am working on a set as a scenic painter, or for other gigs such as window painting. You can see I have brushes, rollers, an extender, some tools like patching spackle and a hammer for small repairs, personal protection gear, and of course, paint. Thanks for watching, I can’t wait to show you my next finished project! |
AuthorWrite something about yourself. No need to be fancy, just an overview. ArchivesCategories |
 RSS Feed
